%20(1).svg)

.webp)
.svg)


Looking for Senior AWS Serverless Architects & Engineers?
Let's TalkScenario:
Embarking on my journey into the realm of blogging, I envisioned a seamless way to keep my audience engaged and informed. To achieve this, I set out to create a newsletter system that would automatically notify subscribers whenever a new blog post is published.
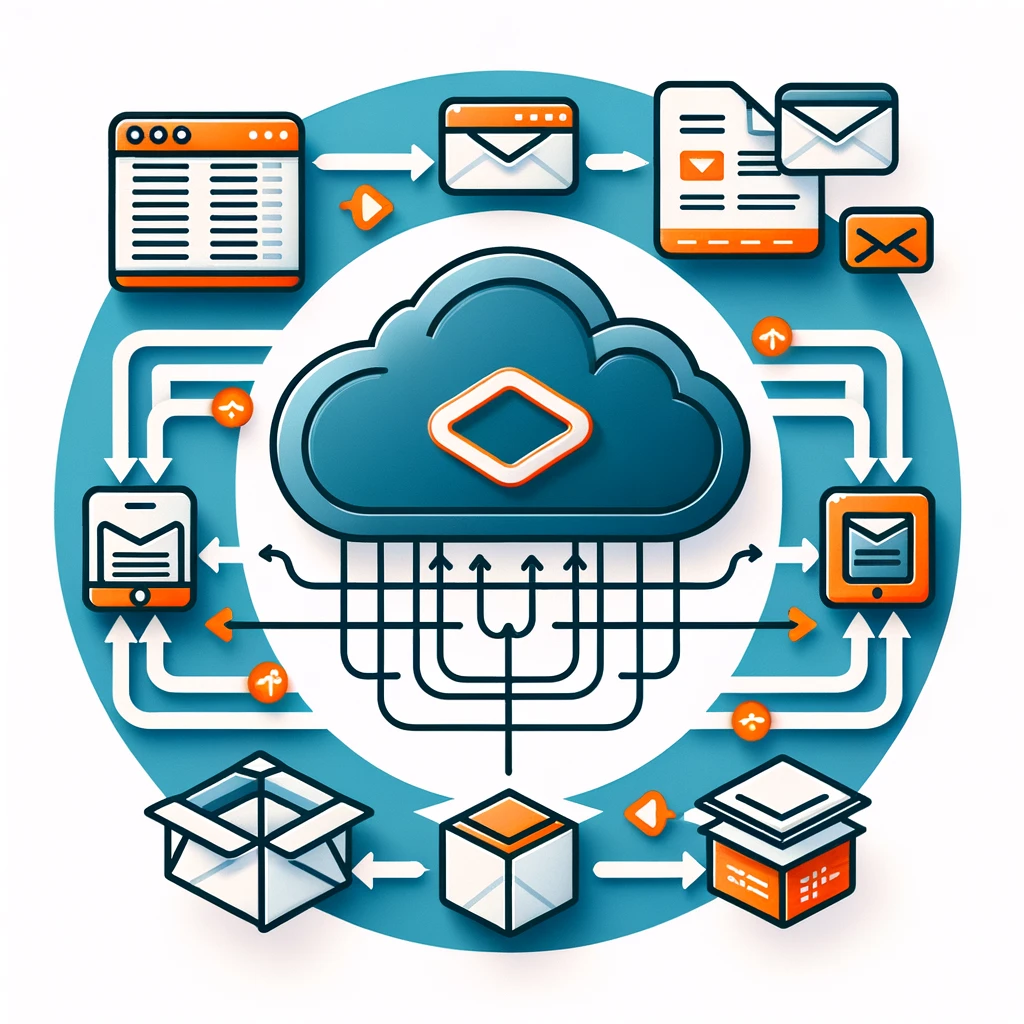
After delving into various AWS services, I discovered a powerful pattern that leverages EventBridge as a trigger for my AppSync mutations. The idea is to push events to Event Bridges, triggering mutations that add new blog post records to a DynamoDB (DDB) table. Subsequently, this triggers the subscription mechanism, ensuring that every subscribed user receives a timely notification whenever a new blog post is available.
This innovative approach not only streamlines the process of notifying subscribers but also harnesses the capabilities of AWS services, providing an efficient and scalable solution for managing and disseminating blog updates.
Architecture:

Solution
Step 1: Configuring AppSync Schema and Resolvers
To kickstart the process, we'll begin by establishing the necessary components within AppSync. This involves defining the AppSync schema, creating a resolver for the addPost mutation, and setting up a DataSource to interact with DynamoDB.
Schema will consist a mutation addPost, and A Subscription created for the mutation. And A Query to fetch the record.
Resolver code to make the call to DDB will look something like below:
Note: Once required things are created, navigate to settings and copy the apiKey & GraphQl Endpoint.
Step 2: Configuring EventBridge for AppSync Integration
2.1: Creating a New Event Bus
- Open the EventBridge console and select the Event Bus section.
- If you don't already have a dedicated Event Bus, create a new one by entering a Name and clicking on "Create".
.webp)
2.2: Setting up API Destination
- Navigate to the API Destinations section in the left sidebar.
- Create a new destination by specifying the Name, GraphQL Endpoint, and selecting the method as POST.

- In the Connection Type, choose "New Connection," and for authentication, opt for API Key.
- Type "x-api-key" and paste the API key obtained in Step 1
- Enter a Connection Name and click on "Create" to save the details.

2.3: Creating Event Rule
- Proceed to the Event Rules section in the EventBridge console.
- Create a new rule by entering a Rule Name and selecting the Event Bus created in Step 2.1

- For the Event Pattern, choose custom and paste the provided pattern below:
- Click "Next" to proceed.

Attach the API destination created as the trigger for the Event pattern identified.

Once all the setup is done, preview the info and click on “Create the Event Rule”.
Step 3: Testing the Integration
Now let’s test the scenario by posting the Event to the Event Bus and keeping the subscription on in the mutation.
3.1: Enabling AppSync Subscription
- In the AppSync console, navigate to the subscriptions section and ensure that the subscription for new blog posts is enabled.

3.2: Sending Test Event
- Return to the EventBridge console and select the relevant Event Bus.
- Choose to post an event, entering the necessary details for the mutation:

- After entering the details, push the event to the bus, receiving a success confirmation:

3.3: Confirming Subscription Response
- Check the AppSync subscription, ensuring that the mutation triggered by the posted event has a successful response:

Conclusion:
With these steps, the integration between EventBridge and AppSync is validated. Events pushed to the Event Bus successfully trigger the corresponding mutation, leading to a subscription response. This confirms that the end-to-end flow, from posting an event to receiving a notification of a new blog post, is functioning as expected.
References: